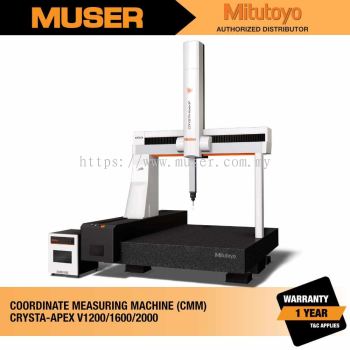
Description
Features
- Measurement uncertainty remains within one-fifth of the dimension tolerance up to 766 mm
- Provides more than double the effective measuring range in terms of accuracy-guarantee capability
- Integrated Y-axis guide rail shows very little deterioration with use and maintains high accuracy for longer durations
- Temperature compensation guarantees accuracy within the range of 16 to 26°C (60.8 to 78.8°F) without a temp-controlled room
Technical Specifications
| Model | CRYSTA-Apex V121210 | CRYSTA-Apex V122010 | CRYSTA-Apex V123010 | |
| Measuring range | X axis | 1200 mm | ||
| Y axis | 1200 mm | 2000 mm | 3000 mm | |
| Z axis | 1000 mm | |||
| Model | CRYSTA-Apex V 162012 | CRYSTA-Apex V 162016 | CRYSTA-Apex V 163012 | CRYSTA-Apex V 163016 | CRYSTA-Apex V 164012 | CRYSTA-Apex V 164016 | |
| Measuring range | X axis | 1600 mm | |||||
| Y axis | 2000 mm | 3000 mm | 4000 mm | ||||
| Z axis | 1200 mm | 1600 mm | 1200 mm | 1600 mm | 1200 mm | 1600 mm | |
| Model | CRYSTA-Apex V203016 | CRYSTA-Apex V204016 | |
| Measuring range | X axis | 2000 mm | |
| Y axis | 3000 mm | 4000 mm | |
| Z axis | 1600 mm | ||
CRYSTA-Apex V Series Accuracy (Unit: μm)
| Series | Probe used |
Length measurement error*1 ISO 10360-2: 2009 |
| 1200 Series | SP25M | E0, MPE =2.3 + 3L/1000*2 |
| 1600 Series | E0, MPE =3.3 + 4.5L/1000 (4.5 + 5.5L/1000)*2 *3 | |
| 2000 Series | E0, MPE =4.5 + 8L/1000*2 |
*2 L = Measuring length (unit: mm)
*3 ( ) indicates Z: 1600 mm specification
Downloads


 US 15846
  GB 12620
  CA 10487
  AU 9739
  IE 5803
  BR 5748
  NZ 1907
  SG 574


