Store tiles and adhesive in the installation room for ≥ 24 h at 18 – 27 °C and 40 – 70 % RH.
2. Assess the sub-floor
Requirement
Concrete
Wood / OSB
Dryness
≤ 5 % MC or ≤ 3 lbs/1 000 ft²/24 h (ASTM F1869)
No visible moisture, replace any flexing panels
Flatness
≤ 3 mm deviation over 2 m; grind high spots & fill low
Sand joints, patch depressions
Clean
Vacuum, degrease, remove paint or curing compounds
Vacuum, remove protruding fastene
3. Layout planning
Snap perpendicular chalk lines through the room centre. Dry-lay two rows in a “T” to check squareness and seam pattern before committing to adhesive.
Choose Your Installation Method
Situation
Recommended Method
Key Points
Home gym < 20 m², occasional loads
Loose-lay + perimeter double-sided tape
Tape every 60 cm along walls; tiles stay put under own weight
Commercial gym, classrooms 20–150 m²
Perimeter-glue + field tape
100 mm border of adhesive; cold-weld tape under each seam
Heavy free-weights, racks, fork-lift zones
Full-spread 1-part polyurethane adhesive
Use 3 mm V-notch trowel; work in 1 m swaths inside open time
Puzzle / interlocking tiles
Dry-lock (no glue) anywhere
Start in a corner; tap joints with rubber mallet; check for drift every 3–4 rows
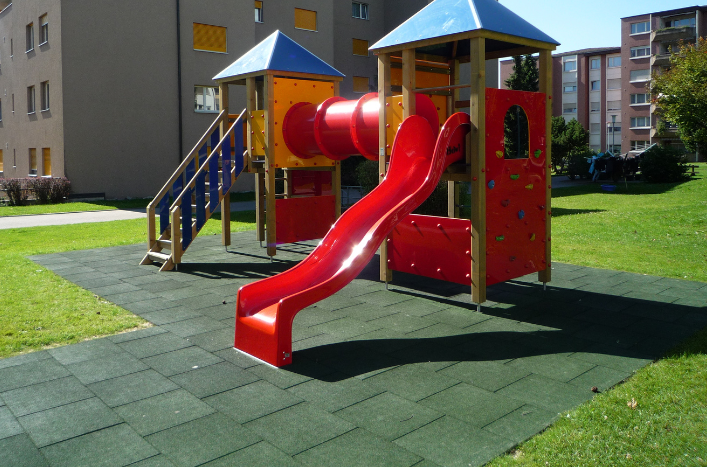
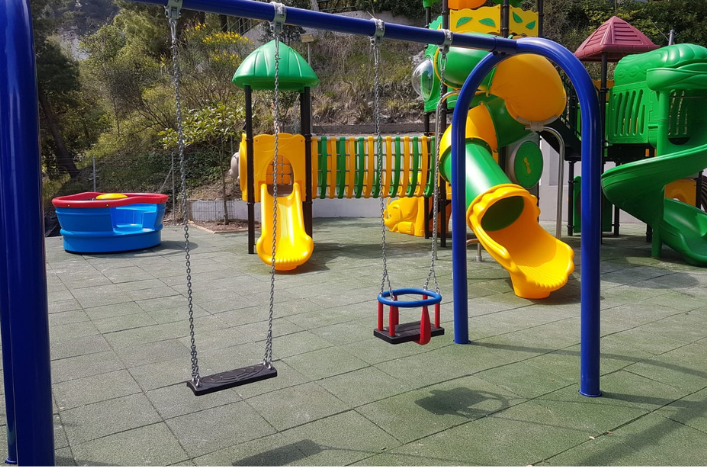
Outdoor playground tiles
Two-part PU adhesive on concrete "puck" spots
5x thumb-size spots per tile; aids drainage & later removal
Step-by-Step Installation
A. Square-edge tiles (glue or tape)
Step
Action
Tips
1
Spread adhesive/tape only the first row
Keeps you inside adhesive open time
2
Place tiles – butt tight, seams staggered like brickwork
Alternate tile orientation if top has directional flecks
3
Roll
34–45 kg flooring roller, north-south then east-west
4
Clean squeeze-out
Use manufacturer's solvent while still wet
5
Continue one row at a time
Maintain chalk-line alignment
B. Puzzle / interlocking tiles
Set starter corner – square to the most visible wall.
Lock tiles – angle-insert tongue into groove and press flat.
Tap with a dead-blow mallet to seat tabs fully.
Trim edges – score, snap, and under-cut bottom dovetails so edge is flush.
Finish with reducers if transition height > 4 mm.
Cutting & Fitting
Score top twice with sharp utility blade against steel straight-edge.
Bend tile over the edge of a workbench; finish cut from the back.
Leave a 3 mm expansion gap at fixed walls for taped floors; butt-tight for full-glue floors.
Curing & Initial Use
Yes. Leading gemological labs like IGI (International Gemological Institute) and GIA (Gemological Institute of America) provide grading reports for lab-grown diamonds, confirming their quality and authenticity.
Adhesive type
Light foot traffic
Heavy equipment roll-in
Acrylic (water-based)
24 h
72 h
1-part PU
12 h
48 h
Routine Maintenance
Daily – vacuum or broom to remove grit.
Weekly – damp-mop with pH-neutral cleaner (pH 7-9).
Annually – inspect for edge lift; re-apply floor finish in high-traffic lanes.
Pejabat Utama
Supersafe Industries Sdn Bhd 200101031785 (567544-U)
Lot 5197, Kawasan Perindustrian Balakong Jaya 2, Jalan Balakong Batu 12, 43300 Seri Kembangan, Selangor, Malaysia.


 US 11434
  GB 10002
  CA 8269
  AU 7568
  IE 5200
  BR 2398
  NZ 971
  SG 672


